In this chapter we will look to Manage Records
in DNS you can add records according to your need and in Windows server 2012 as well. This doesn’t change too much from its earlier version of Windows Server 2008.
To add or manage records, we have to follow the steps given below −
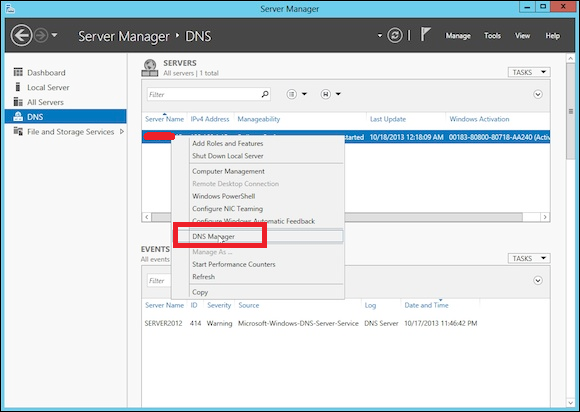
Step 1 − Server Manager → DNS → Right click on the server that has a DNS record, which in our case is local.
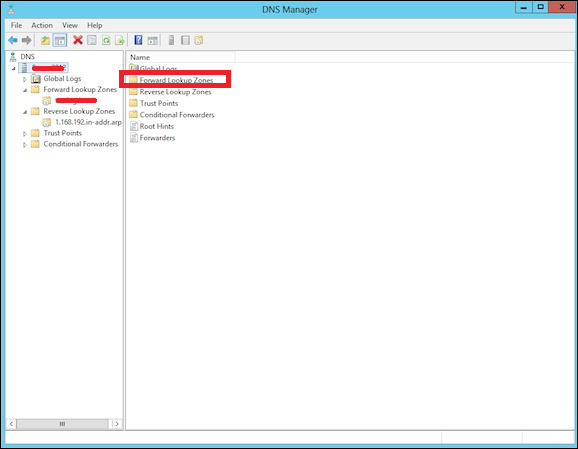
Step 2 − Go to “Forward Lookup Zone”.
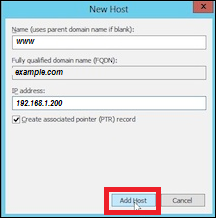
Step 3 − Right Click on the empty Field → New Host (A or AAAA) …

Step 4 − Name field and the subdomain name or case is WWW. → IP address we put is 192.168.1.200. So, when we will type-in our browser www.example.com, it will redirect us to 192.168.1.200.
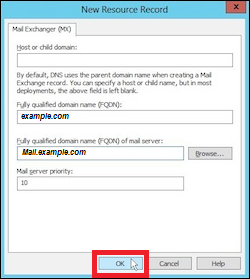
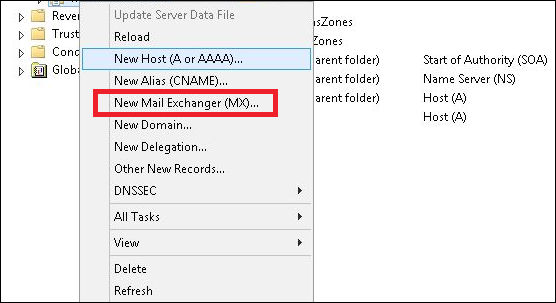
Step 5 − To add a Mail Server Record, we add an MX record and then Right click → New Mail Exchanger as shown in the screenshot given below.
Step 6 − At “Fully qualifies domain name(FQDN) of mail server”, you enter the name of mail server → then in the “Mail server priority”, you enter a number. The smaller the number, the higher the priority.