In this chapter Internet Information Services
The IIS or Internet Information Services role is one of the most important services in Windows Server 2012. It has improved features as compared to its previous versions and it helps us to publish web application or webpages.
Let us now see how to install the IIS Role for which you will have to follow the steps given below.
Step 1 − To Install IIS role, go to “Server Manager” → then Manage → and then to Add Roles and Features.

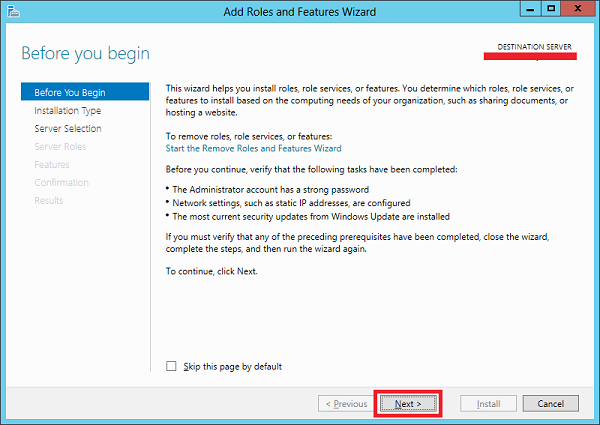
Step 2 − Click on Next in the window which pops up.
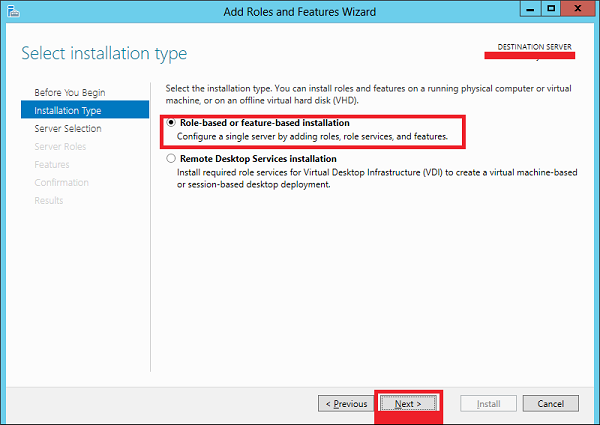
Step 3 − Select the Role-based or feature-based installation option and then click on Next.
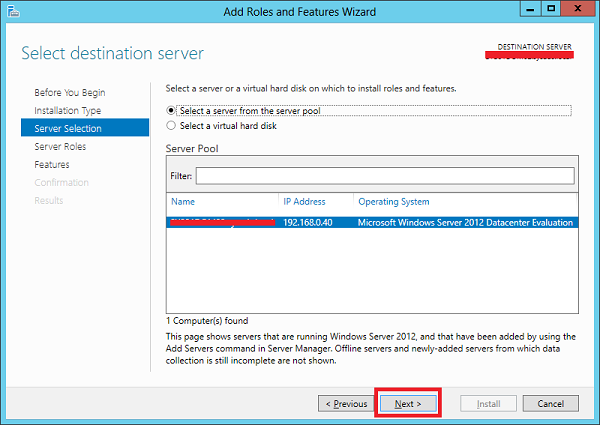
Step 4 − I will install a Local IIS role as it will Select a server from the server pool → then click on Next.
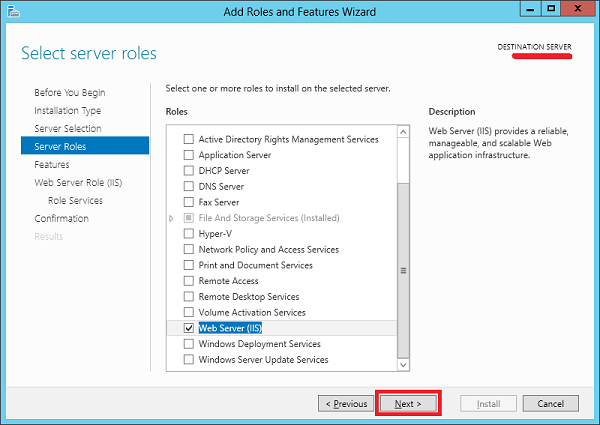
Step 5 − From the Roles lists, check the “Web server” (IIS) Server role → Next.
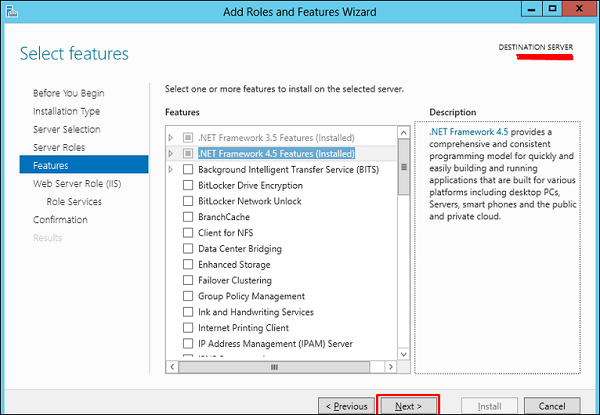
Step 6 − Click Next.
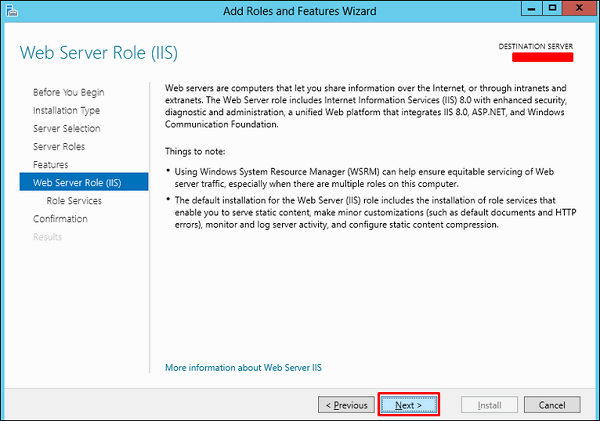
Step 7 − Click Next.
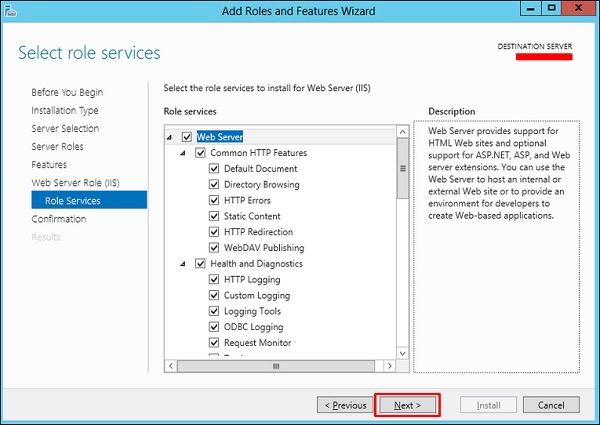
Step 8 − You can choose all the default setting or customize them according to you needs.
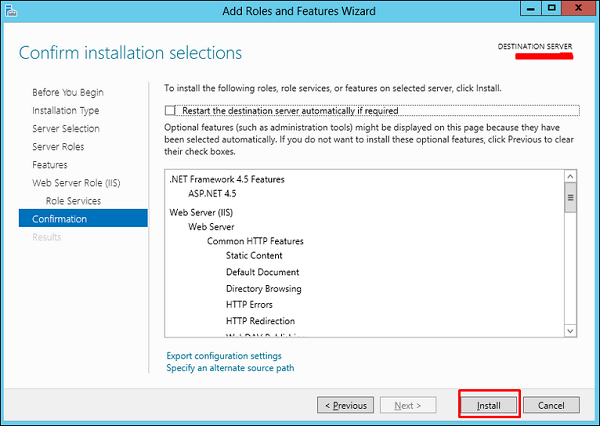
Step 9 − Click Install.
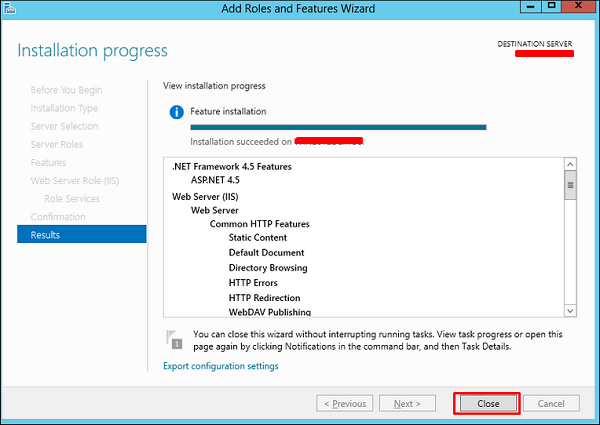
Step 10 − Wait until the Installation Wizard finishes. Once it is done click Close.
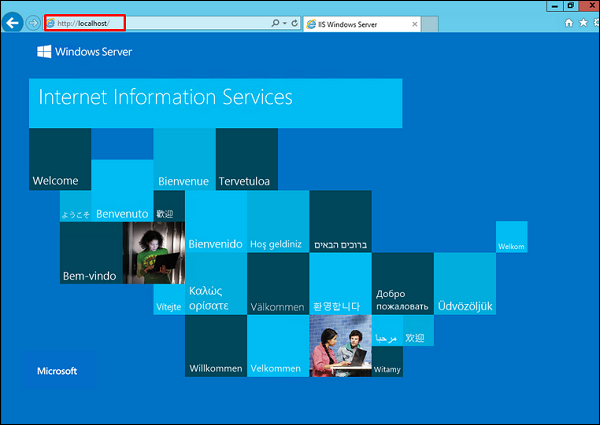
Step 11 − Check if your IIS is installed correctly. This can be done by opening your internet explorer and then typing http://localhost and you should be able to see the following screenshot.