In this chapter we will look to Hyper-V Role
Virtualization is one of the most important technology feature and Microsoft has invested on this and the responsible role is called as Hyper-V.
Let us now see how to install the Hyper-V Role, for doing this we should follow the steps given below.
Step 1 − To Install DNS role go to “Server Manager” → Manage → Add Roles and Features.

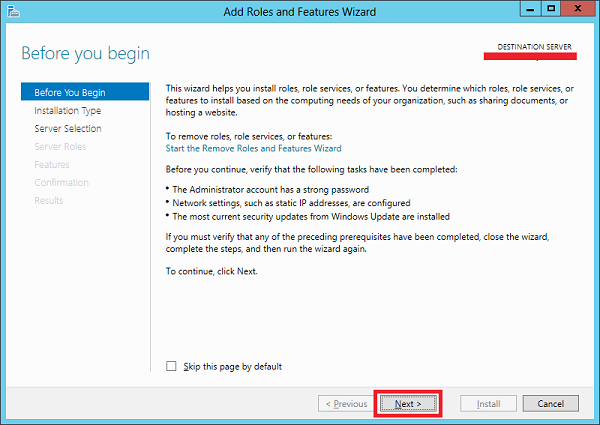
Step 2 − Click Next.
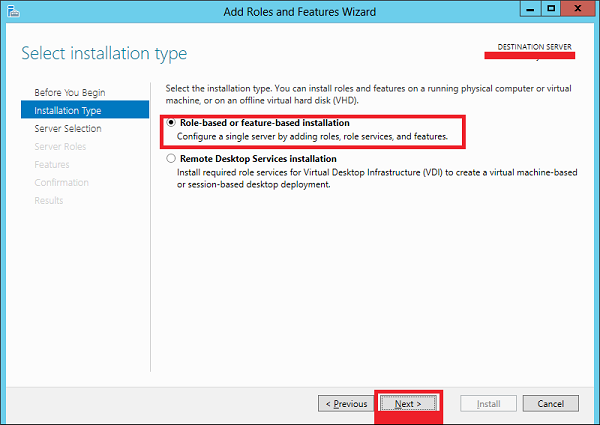
Step 3 − Select the Role-based or feature-based installation option → click Next.
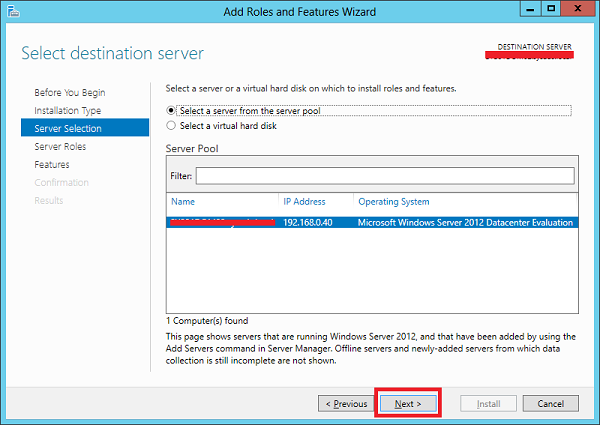
Step 4 − I will install a Local Hyper-V role as it will Select a server from the server pool → Next.
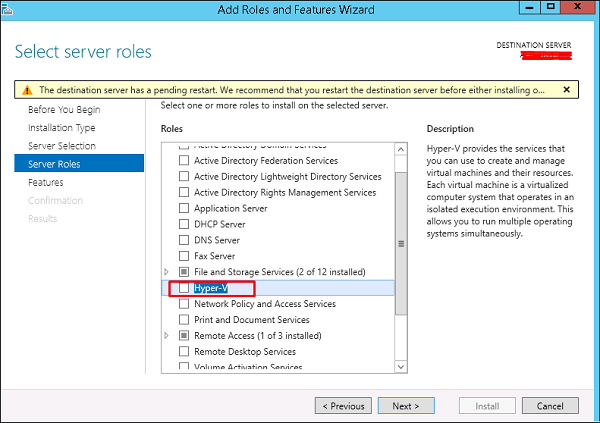
Step 5 − From the Roles lists, check the Hyper-V Server role → click Add Features on the popup windows which show up and then → Next.
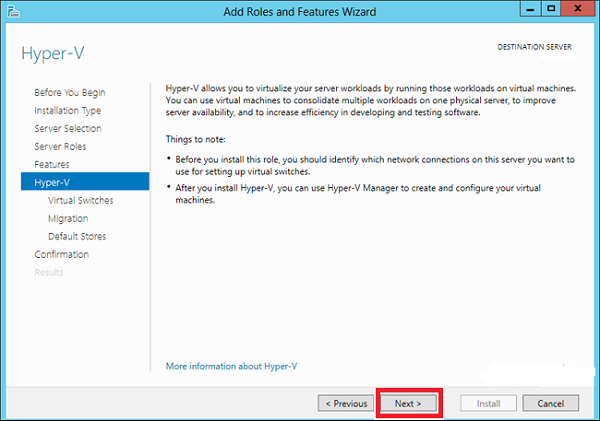
Step 6 − Click Next.
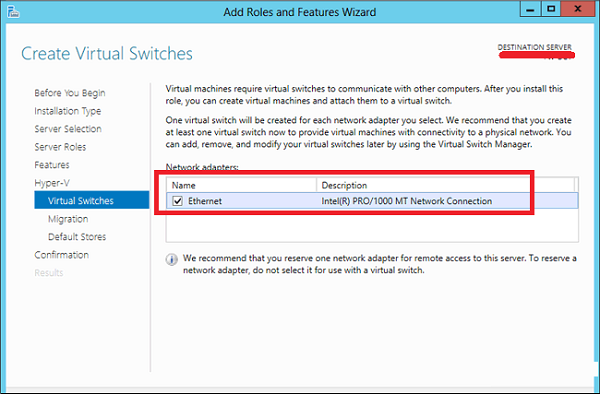
Step 7 − Choose your server’s physical network adapters that will take part in the virtualization → Next.
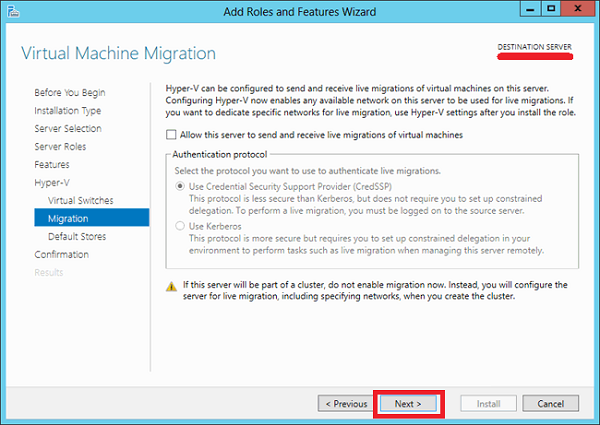
Step 8 − Under Migration, leave the default settings → Next.
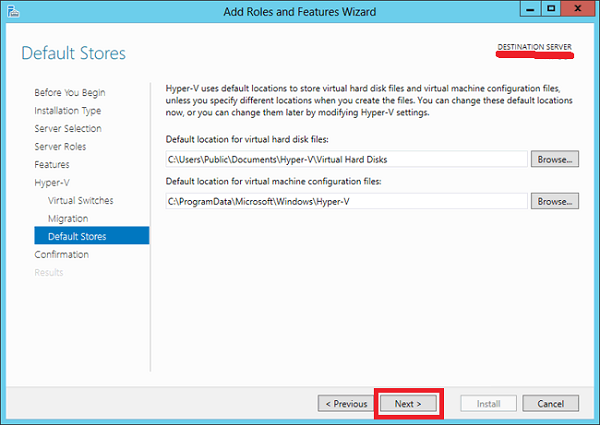
Step 9 − Choose the path where to save the file.
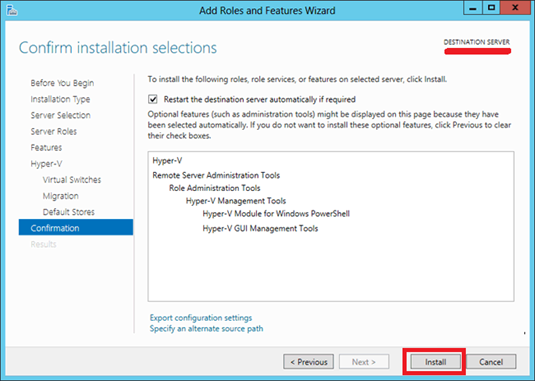
Step 10 − Click Install and wait for the installation bar to finish.